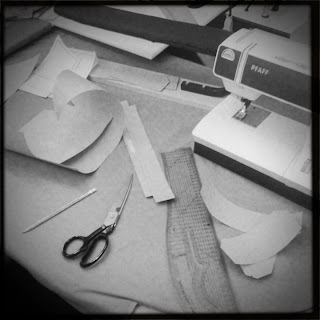
Thursday 18 November 2010
Wednesday 17 November 2010
The Chalk Stripe Suit
Monday 11 October 2010
After cutting all panels the next step is to overlock all seams that will be seen on the inside of the trench coat. I don't want to line this garment as it's for summer, i want to keep it as light and breathable as i can.
Moving on to construction of the sleeves and the front panels. As you can see these have allot of work going into them due to the amount of buttons i like to use for my trench coats.
Thursday 7 October 2010
The Trench Coats (the making of)
Needing another trench coat before winter really hits us all again in the City of London. But this time wanting to use a heavy weighted linen, in hoping to feel summer alittle longer on me.
Over the course of these pictures you will see many steps taken to achieve this goal and how it turns from a pile of washed out fabric, too something quite different.
After noticing for years people such as Christopher sending down the catwalk men and women with the sleeves rolled on there coats, i to wanted to play with this idea and make a coat that does just that. After designing many coats that have very fitted sleeves i knew that this was not going to have the same very fitted look when their down, but i had to deal with that. (I'm just too Hedi sometimes)
Enjoy,
Jk
www.jameskearns.co.uk
Subscribe to:
Posts (Atom)


